Friday, October 22, 2010

The Perfect Cookie


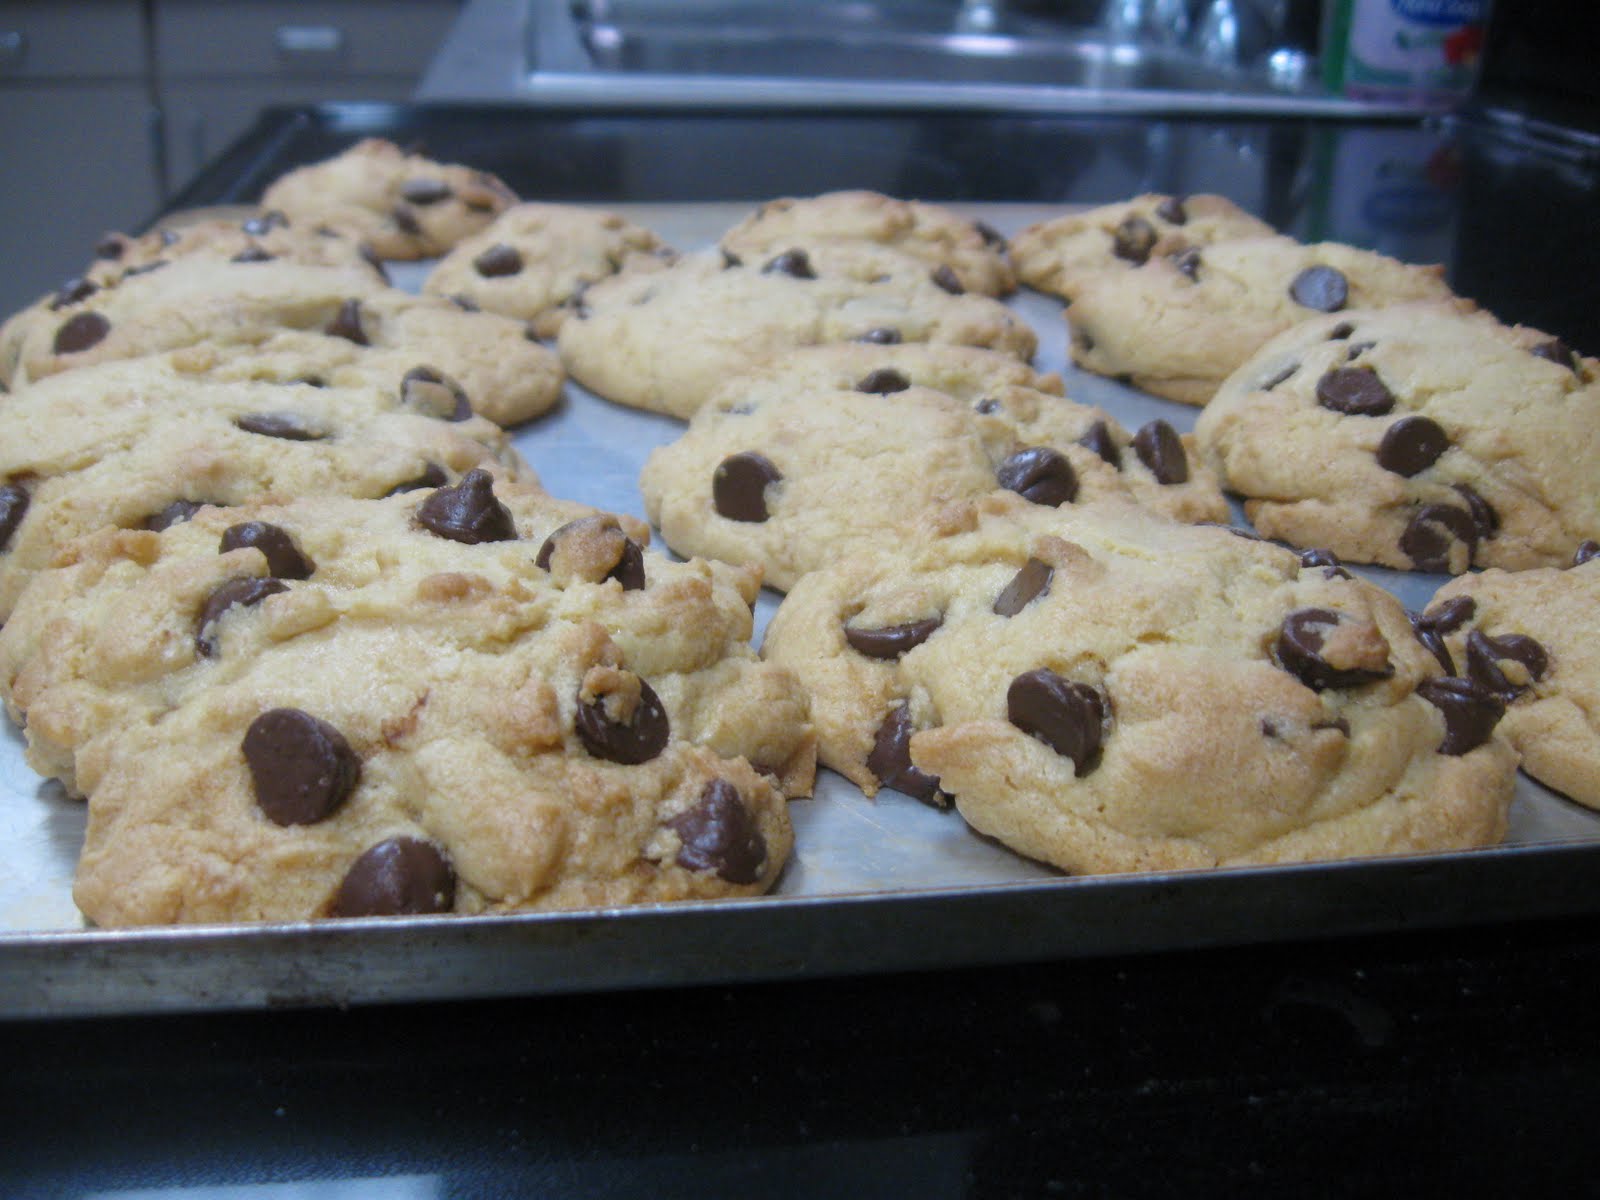
We've found it - the recipe for the perfect chocolate chip cookie! There is an unusual, but readily available, ingredient in this one, and I credit the perfection to that ingredient - instant pudding mix. My Food, Nutrition, and Wellness students practiced with the recipe this week, and what a successful lab this has been! For the most part, our final products were soft, chewy, and delicious.


To dispel any misconception that teachers claim to never make mistakes, let me be honest by revealing my mishap on lab day one. We always have "demo day" before the students' actual lab, and on demo day, I demonstrate preparing the recipe from start to finish. The students are free to ask questions and taste the product. Well, on second period's demo day, I left out one very important ingredient - baking soda. Why is baking soda so important? It's the leavening agent. It is what makes the cookies rise. Did my mistake ruin our product? No, but our cookies were fairly flat and a little dense. We learned an invaluable lesson - less chatter in the kitchen may prevent mishaps like mine. And ALWAYS check and double check the recipe instructions!


We hope you will try our cookie recipe and let us know how you like it by leaving a comment on this post! It's a quick, easy recipe that is actually pretty foolproof. Well, as long as you don't leave out an ingredient! :-)


Mom's Chocolate Chip Cookies

Ingredients

* 1 cup butter, softened
* 3/4 cup packed brown sugar
* 1/4 cup white sugar
* 1 (3.5 ounce) package instant vanilla pudding mix (Chocolate pudding mix might also be interesting!)
* 2 eggs
* 1 teaspoon vanilla extract
* 2 1/4 cups all-purpose flour
* 1 teaspoon baking soda
* 2 cups semisweet chocolate chips

Directions

1. Preheat oven to 375 degrees F (190 degrees C).
2. In a mixing bowl, cream butter and sugars. Add pudding mix, eggs and vanilla. Combine flour and baking soda; add to creamed mixture and mix well. Fold in chocolate chips.
3. Drop by teaspoonfuls onto ungreased baking sheets. Bake for 10 to 12 minutes or until lightly browned.

Friday, October 1, 2010

Biscuits - minus the can!


We made biscuits this week! Real biscuits - no cans or frozen dough. It's an art form, you know. This recipe takes practice to perfect, but boy is it worth the trouble! For the most part, my students were so impressed with how well their creations turned out. We served our biscuits with butter and jelly.

I have tried several different biscuit recipes over the years, and this is the best I've ever had, by far. The morning before our classroom demonstration, I prepared biscuits two ways, using two different recipes, in an attempt to decide which of the two I would teach the class. I did an informal survey with the help of some of my coworkers. "Which is your favorite biscuit - A or B?" And wouldn't you know that it was a tie! A lot of help they turned out to be! Anyway, I made an executive decision and chose my favorite to show the kids. It was a hit!


On Lab Day One, the students made the biscuits plain. But on Day Two, they were encouraged to make a variation of the biscuit recipe, adding either cheese and garlic or cinnamon and sugar with glaze. Both were delicious and are very easy to execute.


As a side note, this recipe calls for buttermilk. If you do not have buttermilk in your fridge, add a tablespoon of white vinegar to a cup of milk to make your own. Stir and let it set for a couple of minutes, and PRESTO! You have buttermilk! This is what we did in class.

Before I give you the recipe, a few secret tips to help you make delicious biscuits:

• A pastry blender is, by far, the best tool for the job of cutting the butter into the flour. You can find them just about anywhere – Walmart, Target, etc.
• The more you touch the dough, the tougher it will become. Tough is bad when we’re talking about biscuits, so keep the kneading to a bare minimum.
• As a time saver, we just used a pizza cutter to cut the biscuits. Sure, they turn out square, but that was fine for us. There is absolutely no wasted dough when using this method, and you can simply flip the wax paper over onto the pan instead of handling the dough unnecessarily.
• If you do choose to use a biscuit cutter, be sure your biscuits are touching on the pan. This makes a MUCH softer biscuit with no crunchy edges.


Our Best Buttermilk Biscuits

Makes 12

• 1/ 2 cup cold butter, cut into ¼ inch slices
• 2 1/4 cups self-rising flour (We only use White Lily.)
• 1 – 1 ¼ cup buttermilk
• 1 ½ cup shredded cheddar cheese (optional)

Cut butter into flour with a pastry blender until mixture resembles small peas. (Stir in cheese now, if using) Cover and chill 10 minutes. Add buttermilk, stirring with a fork just until dry ingredients are moistened.

Turn dough out onto a floured surface. Knead 3 or 4 times, gradually adding additional flour as needed. With floured hands, press dough into a 3/4-inch-thick rectangle. Sprinkle top with additional flour. Fold dough over onto itself in 3 sections, starting with 1 short end. Fold dough rectangle as if folding a letter-size piece of paper. Repeat entire process 2 more times, patting and folding.

Press dough to ¾ inch thickness. Cut with a 2-inch cutter. (W used a pizza cutter.) Place biscuits in pan with the sides touching each other. (Very important for soft biscuits...)

Bake at 450 degrees for 13 to 15 minutes until lightly browned. Brush with butter.


Happy Fall Break, Y'all!